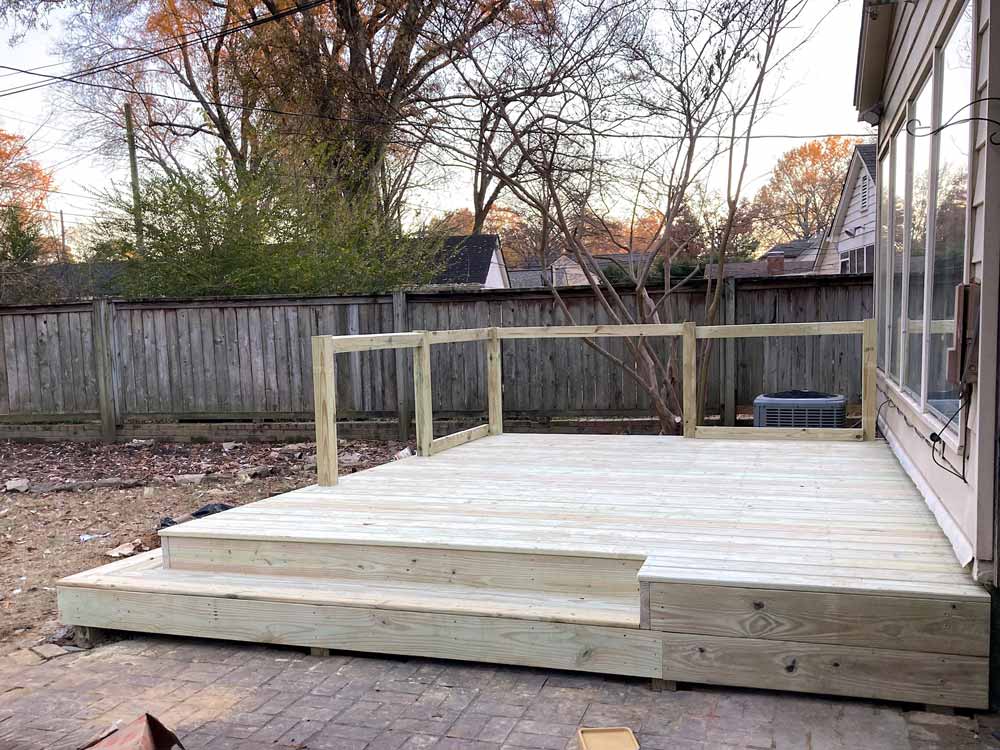
Angled Deck with Custom Rails and Step in Midtown Memphis.
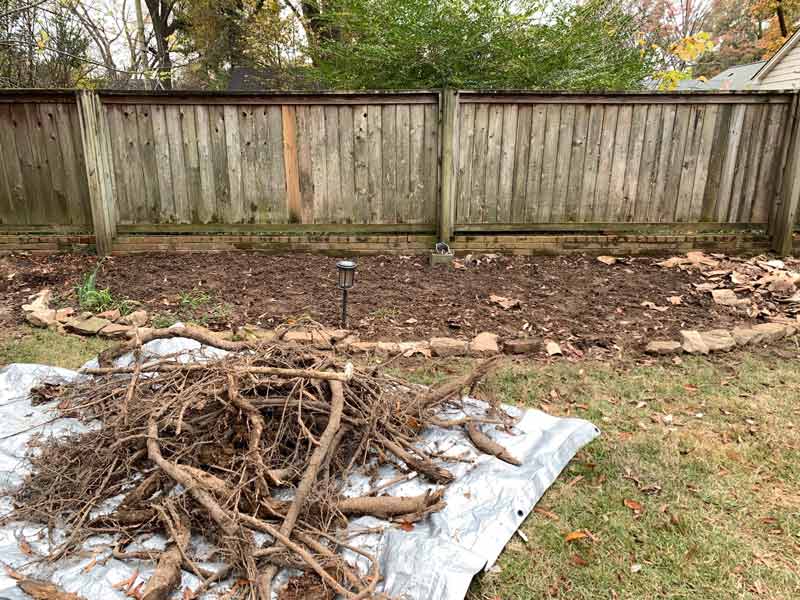
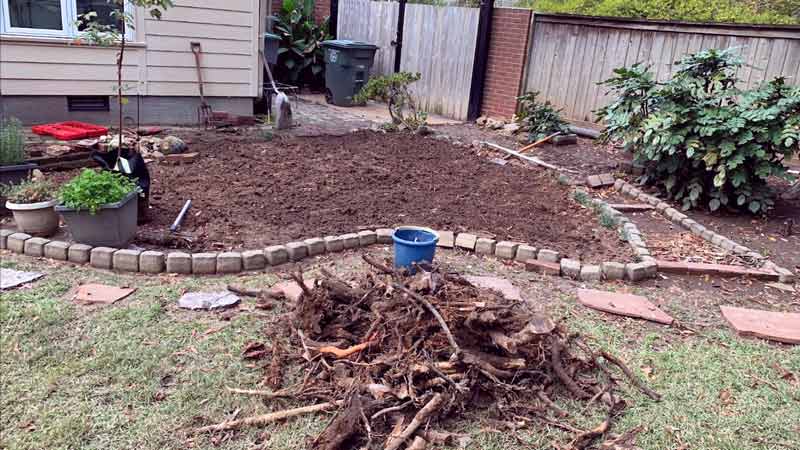
Before taking on this amazing decking, I was asked to take care of some roots that a tree service left behind. It was a good reminder of why I got back into carpentry. Older folks are taken advantage of too much. They deserve better. Once I was able to clear that up, we started talking about her design for a beautiful angled deck with custom rails.
I think we all have a unique way we can help out.
Designing the Backyard Living Space.
I really enjoyed the process of designing this deck. My client was very specific with what she was looking for. This gave me plenty of opportunity to deliver. Once we hammered down the framing structure and decided to wrap the step, the rest was a breeze.
The client knew she wanted the border posts to come through the decking to form an L-shaped railing. This type of design gave her entry access from the yard, side entrance and back door. It also made her cabling idea more appealing to me. She wanted a wider rail with a lean-able height that “you could comfortably set a cup of coffee on”.
I aimed to build the rails with a blend the wooden fencing. The only change from the original plan was leaving out the flower bed. I also added an additional step and stair rail to prevent any falls.
Framing the Angled Deck Posts.
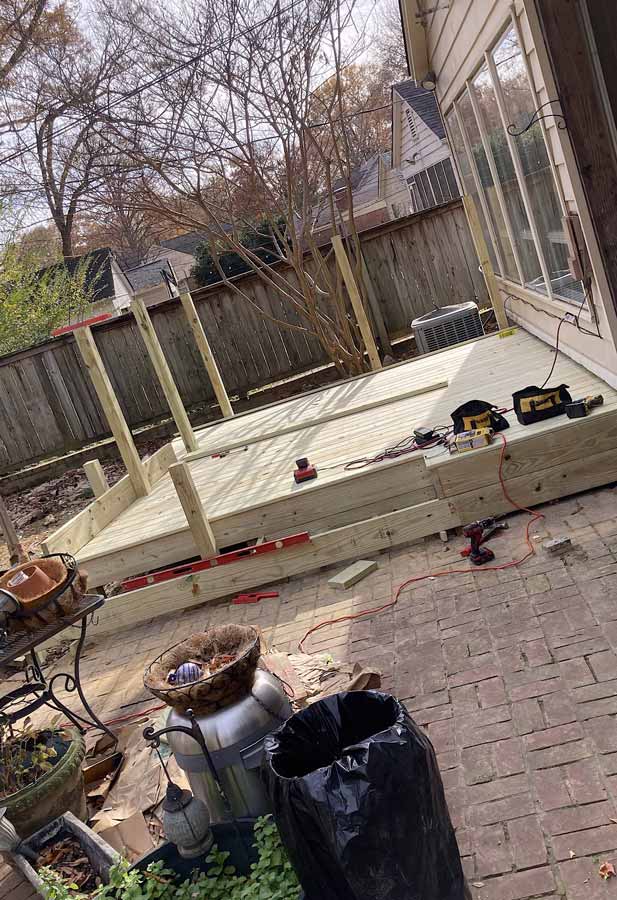
When it came to building this angled deck with custom rails, the curve wasn’t even the hardest part. It was definitely setting the posts. As you can see, I had a brick patio to drill through. After some though, I decided to leave the area as in tact as I could. Water wasn’t pooling and I didn’t want to disrupt the backyard flow.
I did a short video about deck post depth next to housing when I was setting these. I ended up digging 26 inches for the border and 24 on the inside (the freeze line around Memphis is 12-16″). Filling up the holes flush with the old patio ensured they won’t be goin’ anywhere.
Setting the Stair Levels on the Posts.
From here, I needed to mark and measure each level. When doing the steps, you have to consider the thickness of the deck boards. Without going into too much detail, you can easily see that building a new deck takes a lot of work. It’s up to you to find someone that cares about quality during every phase of the construction project.
Framing the Custom Angled Deck
The reason for the angle was to accompany a stone path. While it did take some mental fortitude, it wasn’t that bad. I basically built the deck over a 3×4 grid. One side was 12 feet from the house and the other was 14 with a drop off for 9 feet of stairs. Every joist in between was 6 inches longer. Simple, right?
I did have to cut the ends at an angle. This did cost me some time. I should have known. The corners also took a few slow cuts to make sure it was a perfect edge. My favorite past of her angled deck with custom rails was the corner step. I love how I finished this out.
The Final Touches of the Deck.
My son got to help me install the railing and sand everything down. My client’s grandson was around to learn how to install the black cables. I’ve been back a few times to tighten them, so I’d go with 1/2″ or thicker.
Overall, the I love the look. The client mentioned that some contactors think she’s too picky. But I thought it was refreshing to work with someone who thinks it though. I’m glad I was able to build what she had in mind. An angled deck with custom rails definitely changed her outdoor living space.